
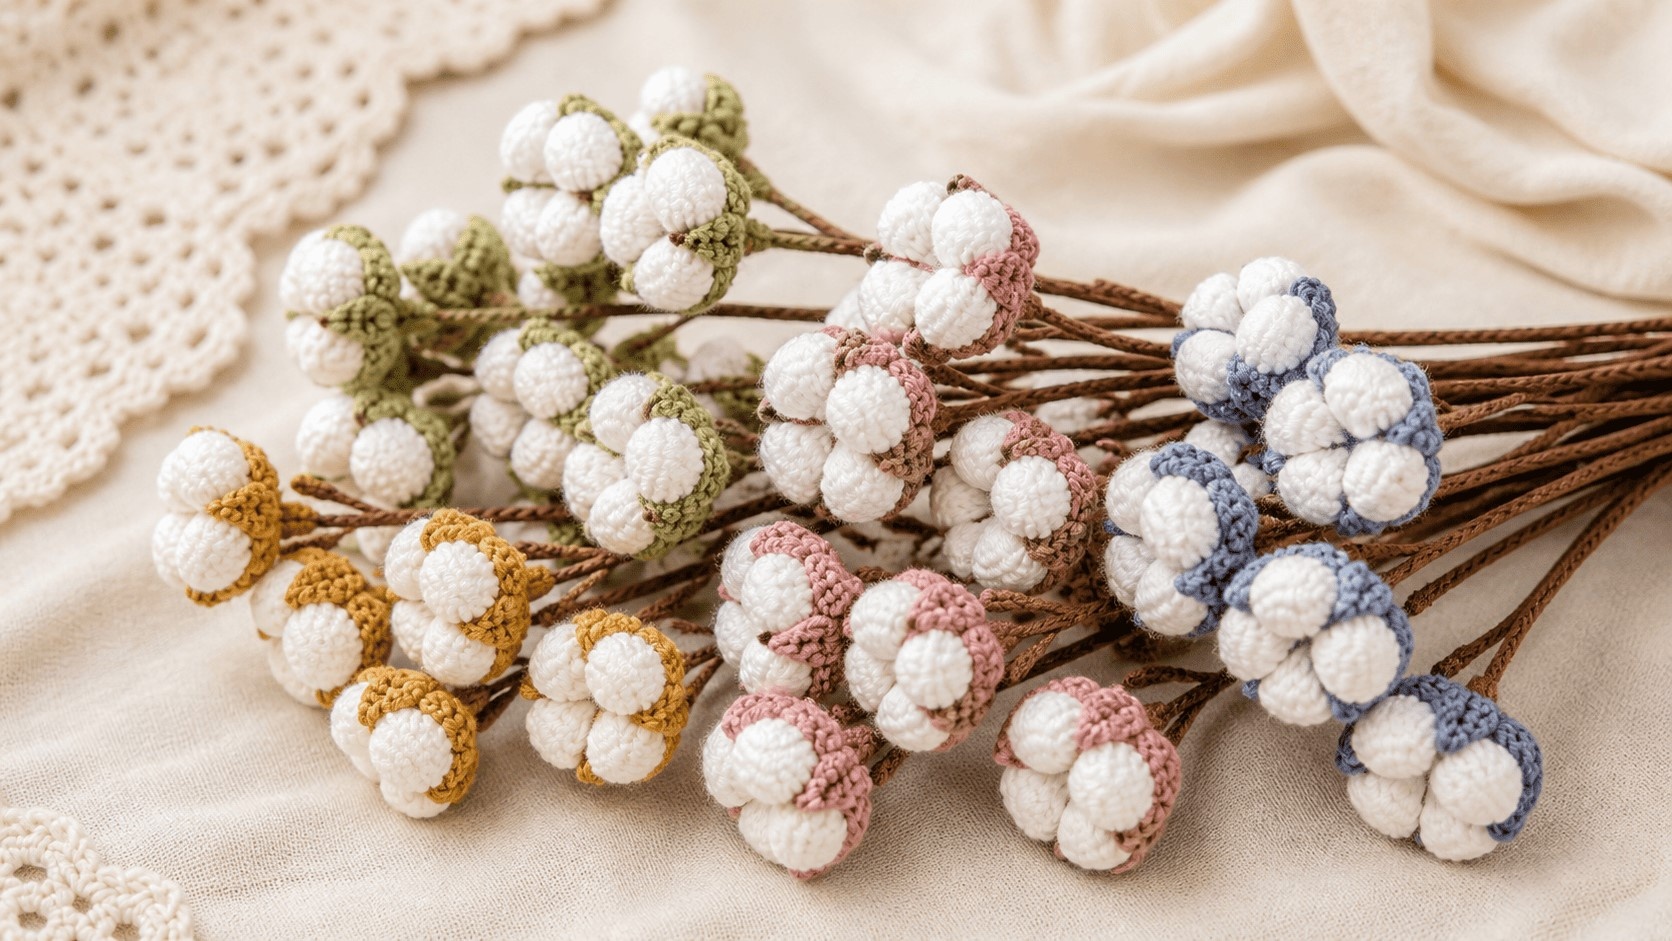
This crochet cotton flower pattern is written for two kinds of makers: someone who wants a simple, five-petal cotton-yarn flower finished in under half an hour, and someone who wants to go further and build a fuller, sculptural bloom with a stuffed center and a wired stem for a vase or bouquet. Both versions start from the exact same base, so you can stop after the easy flower or keep going — nothing here needs to be ripped out and restarted.
Every round below is written out in full sentences as well as standard abbreviations, so you're never stuck guessing what a shorthand line means.
Crochet Flower Ebook by Claudia GiardinaJump to a section
- What you'll need
- Stitches and abbreviations used
- Easy vs. advanced: which version should you make?
- The base flower (both versions start here)
- Optional: center pod
- Optional: calyx (the base behind the petals)
- Assembling and adding a stem
- Watch it worked
- Common mistakes and how to fix them
- What to do with your finished flowers
- Frequently asked questions
What you'll need
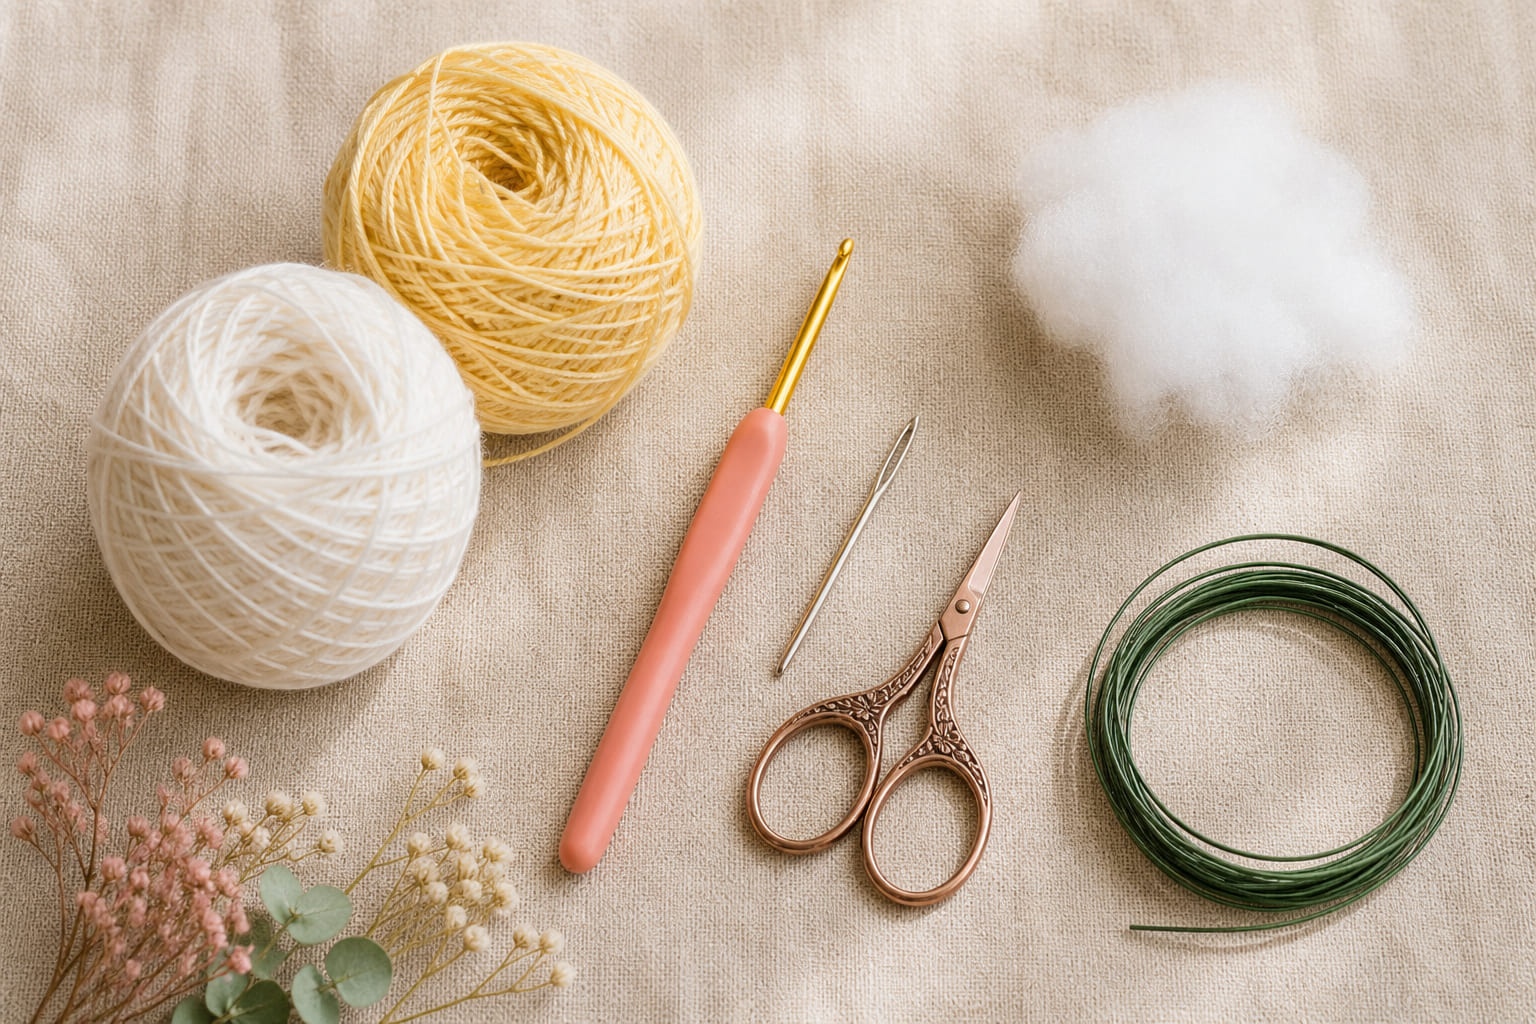
- Worsted weight (medium, US #4) 100% cotton yarn in white or cream, plus a small amount of soft yellow or pale green for the center (about 15–20g total per flower)
- 4.0mm–4.5mm (G/6–7) crochet hook
- Yarn needle and scissors
- A small pinch of polyester stuffing (only for the center pod)
- 24-gauge floral wire, 20–30cm, and floral tape or matching green yarn (only if adding a stem)
- Fabric glue or a hot glue gun (optional, for securing the stem — a few tight whip stitches work too)
Stitches and abbreviations used
- Ch — chain
- Sl st — slip stitch
- Sc — single crochet
- Hdc — half double crochet
- Dc — double crochet
- Tr — treble (triple) crochet
- St(s) — stitch(es)
Easy vs. advanced: which version should you make?
Both versions share the same 5-petal base from Round 1 and Round 2 below. The difference is only in what you add afterward, so pick based on how much time you have and what you're making the flower for.
| Easy base flower | Advanced full bloom | |
|---|---|---|
| Time needed | 15–25 minutes | 45–60 minutes |
| Pieces to make | 1 (petals only) | 3 (petals, center pod, calyx) |
| Extra materials | None | Stuffing, floral wire, glue |
| Best for | Appliqués, hair clips, brooches, embellishing a granny square | Bouquets, vase arrangements, wreaths, table decor |
| Finished look | Flat, tidy, five-petal bloom | Full, dimensional, cotton-boll style flower |
The base flower (both versions start here)
This is the part every finished flower shares, whether you stop here or keep building. It makes one tidy, five-petal bloom about 6cm across.
Round 1 — the center ring
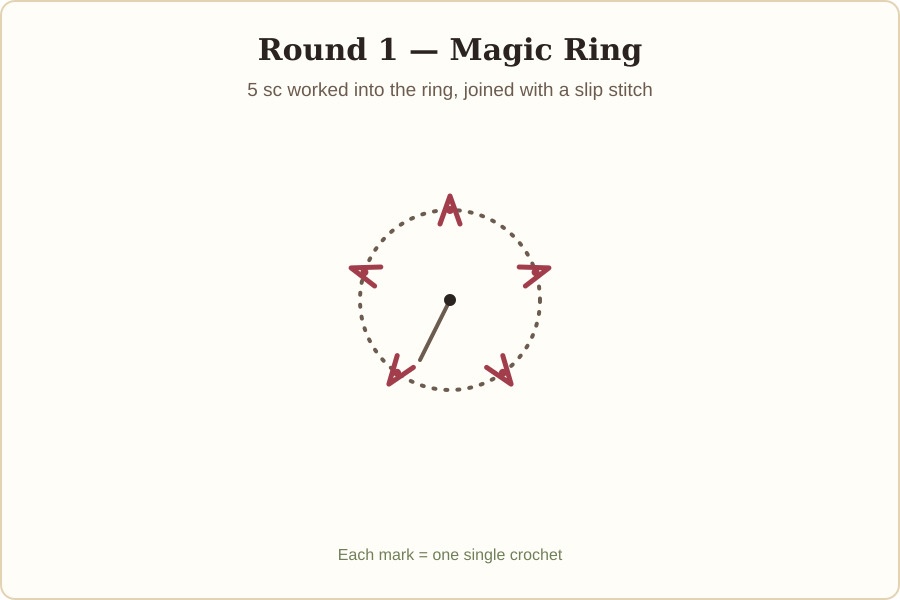
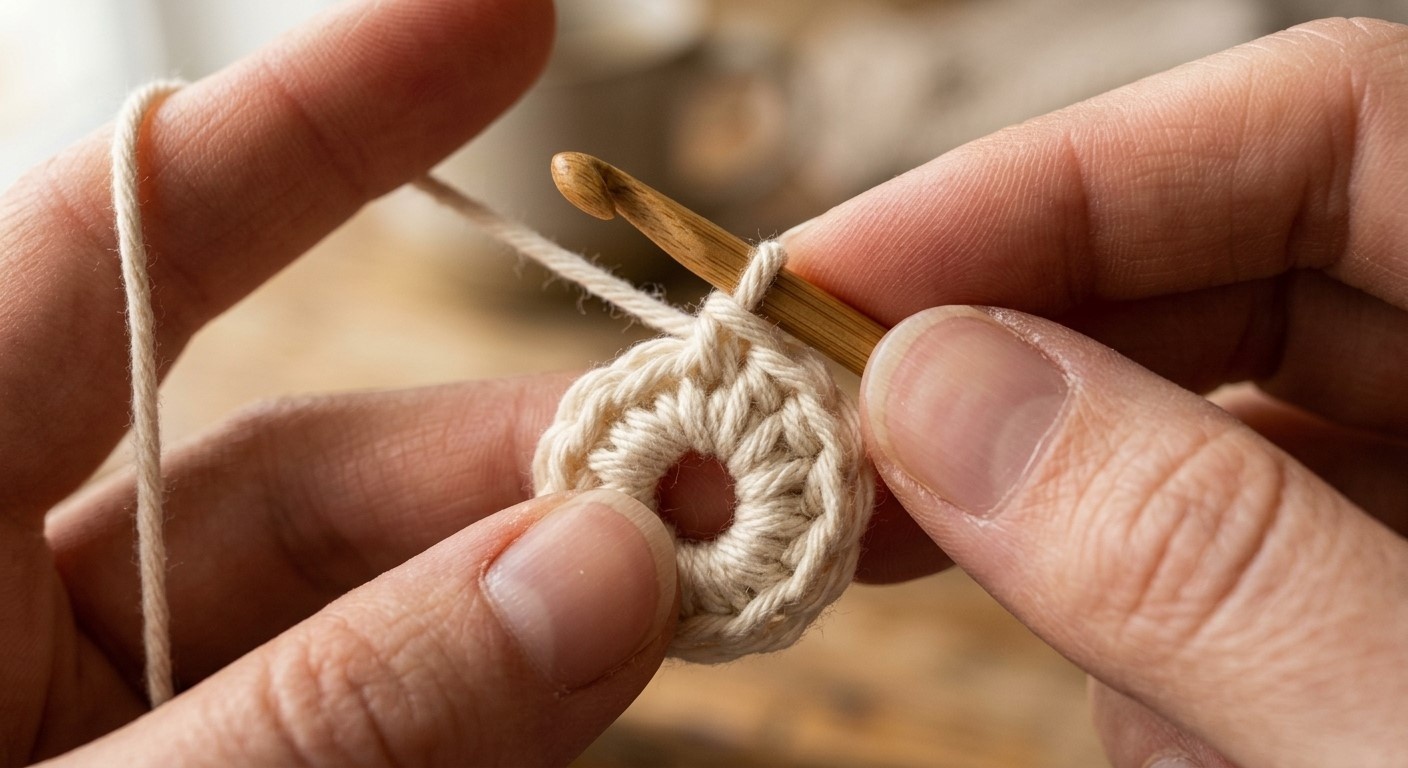
Make a magic ring. Chain 1 (this does not count as a stitch). Work 5 sc into the ring, then pull the tail to close it snugly. Join with a sl st to the first sc. You should have 5 sts evenly spaced around a small closed circle.
Round 2 — the petals
*Chain 2, then work (1 dc, 1 tr, 1 tr, 1 dc) all into the same stitch you just slip-stitched into. Chain 2, then slip stitch into that same stitch again to anchor the petal in place. Move to the next stitch of Round 1 with a slip stitch.* Repeat from * around all 5 stitches — you'll finish with 5 separate petals fanned out from the center. Fasten off, leaving a 15cm tail for attaching the flower later.
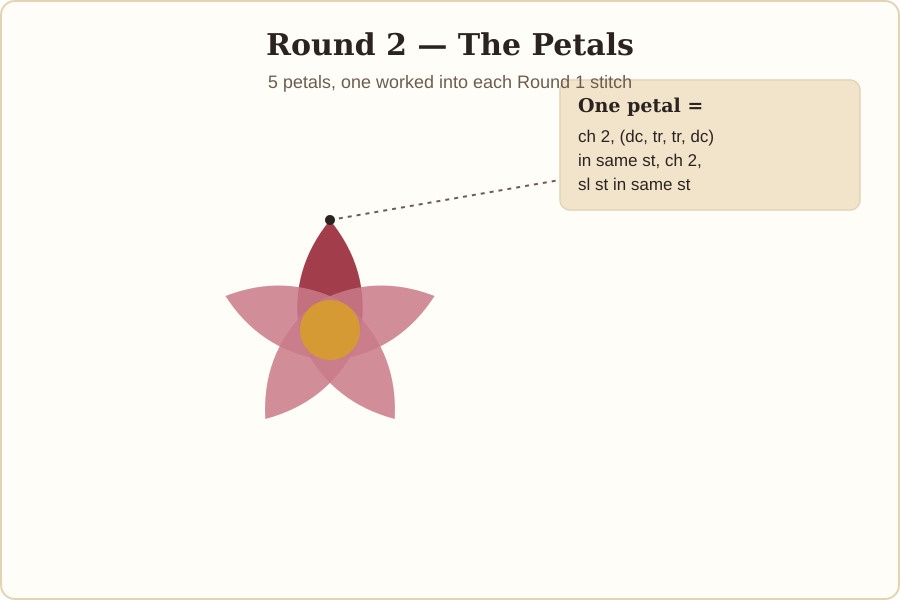
Why a chain-2 on both sides of the petal? The two chain-2 gaps are what let the petal curve slightly outward instead of lying flat and stiff — it's a small detail, but it's the difference between a flat paper-cutout look and a softer, more natural one.
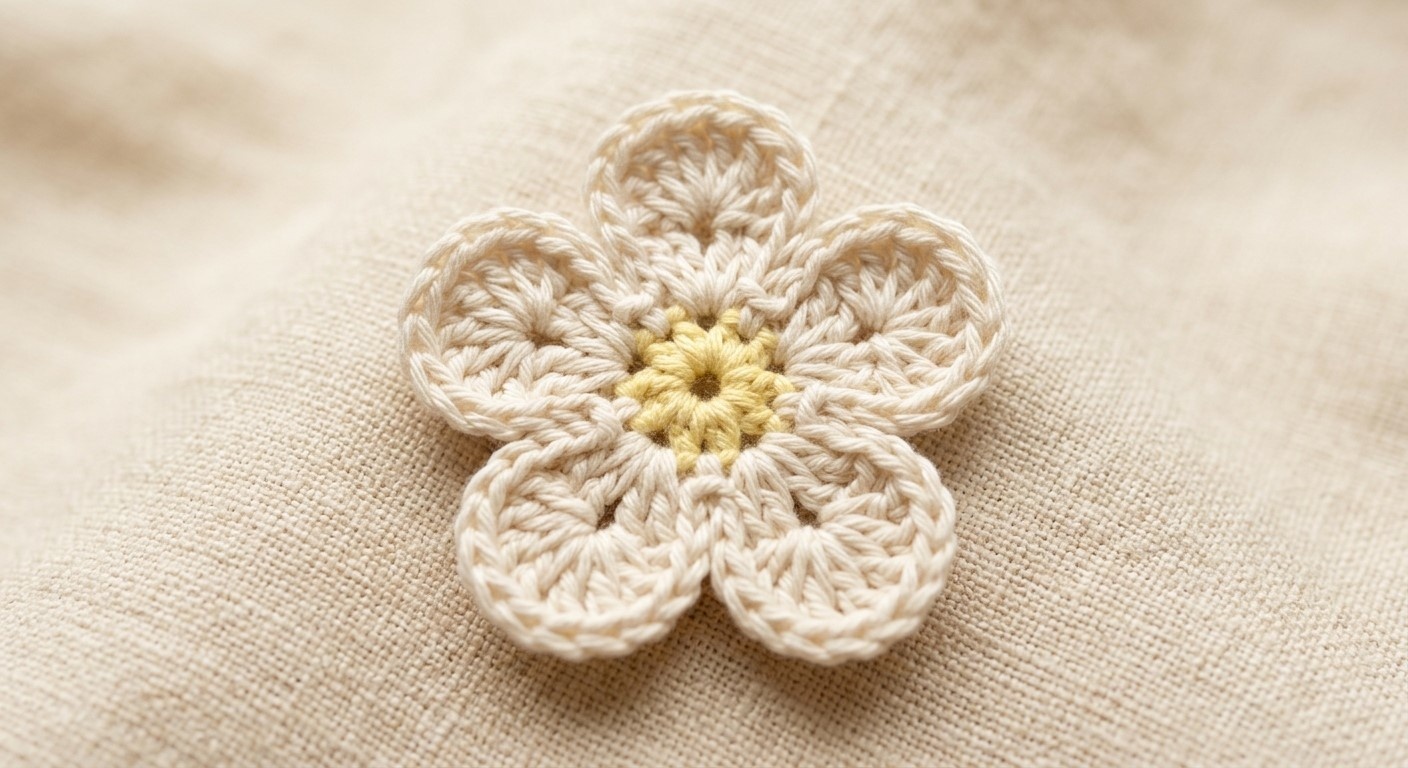
If you'd like a fuller-looking flower without adding a separate pod, work a second round of 5 shorter petals (dc, dc, dc instead of dc, tr, tr, dc) into the gaps between the first layer, using a contrasting or slightly lighter shade. This layered-petal option is a good middle step between the easy and advanced versions.
Optional: center pod
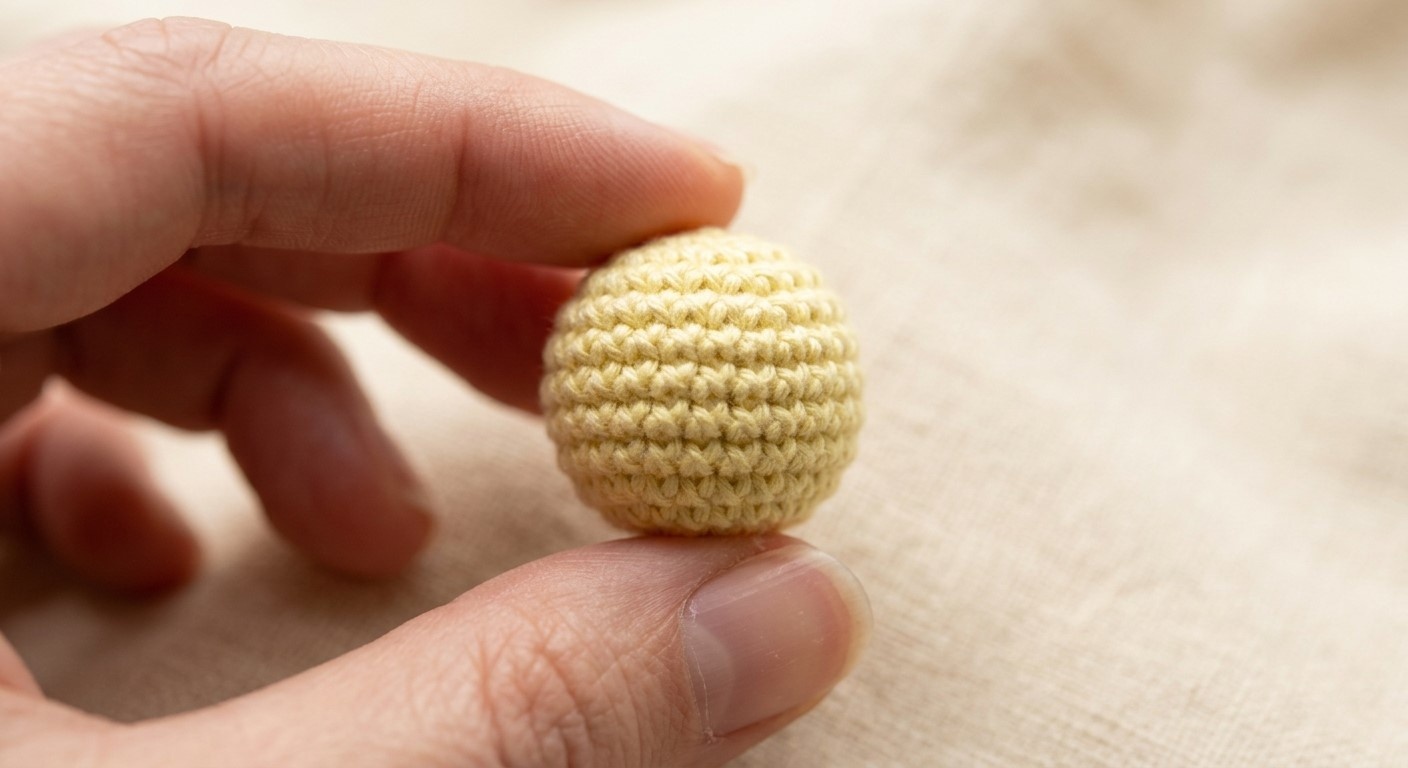
This small stuffed ball gives the flower its rounded, fluffy "cotton boll" center — it's what separates an ordinary crochet flower from one that specifically reads as cotton.
- In pale yellow or cream, make a magic ring and work 6 sc into it. Do not join — continue working in a continuous spiral, marking the first stitch of each round with a scrap of contrast yarn.
- Round 2: 2 sc in each st around (12 sts).
- Rounds 3–4: sc in each st around, no increases (12 sts).
- Add a small pinch of stuffing, fluffed rather than clumped, so it fills evenly.
- Round 5: *sc2tog, sc in next st* around (8 sts).
- Round 6: sc2tog around (4 sts), then fasten off, pull the tail through the remaining stitches, and cinch closed.
Optional: calyx (the base behind the petals)
A calyx is the small star of pointed leaves that sits directly behind real flower petals — adding one here hides the join between the petals and the stem and gives the back of the flower a finished look.
- In sage or moss green, make a magic ring, chain 1, and work 5 sc into it. Join with a sl st to the first sc.
- Round 2: *Chain 4, sl st into the 2nd chain from the hook, hdc into the next chain, then sl st back into the same base stitch.* Repeat around all 5 stitches to form 5 small pointed leaves. Fasten off, leaving a tail.
Assembling and adding a stem
Skip this section entirely if you're making the easy, stemless version — just weave in your ends and your flower is finished.
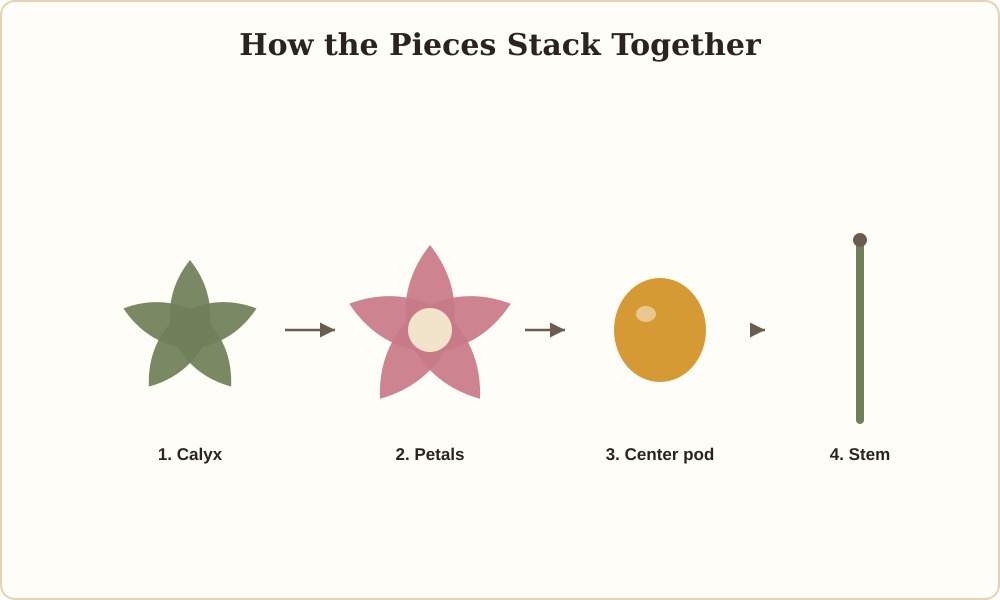
- Fold a 20–30cm length of floral wire in half and twist the two ends together to form a stem with a small loop at the top.
- Wrap the wire stem with a strip of floral tape, or wrap tightly with matching green yarn and secure the end with a dab of glue.
- Thread the wire loop through the back of the center pod so the pod sits at the very top of the stem. Secure with a few small stitches or a touch of glue.
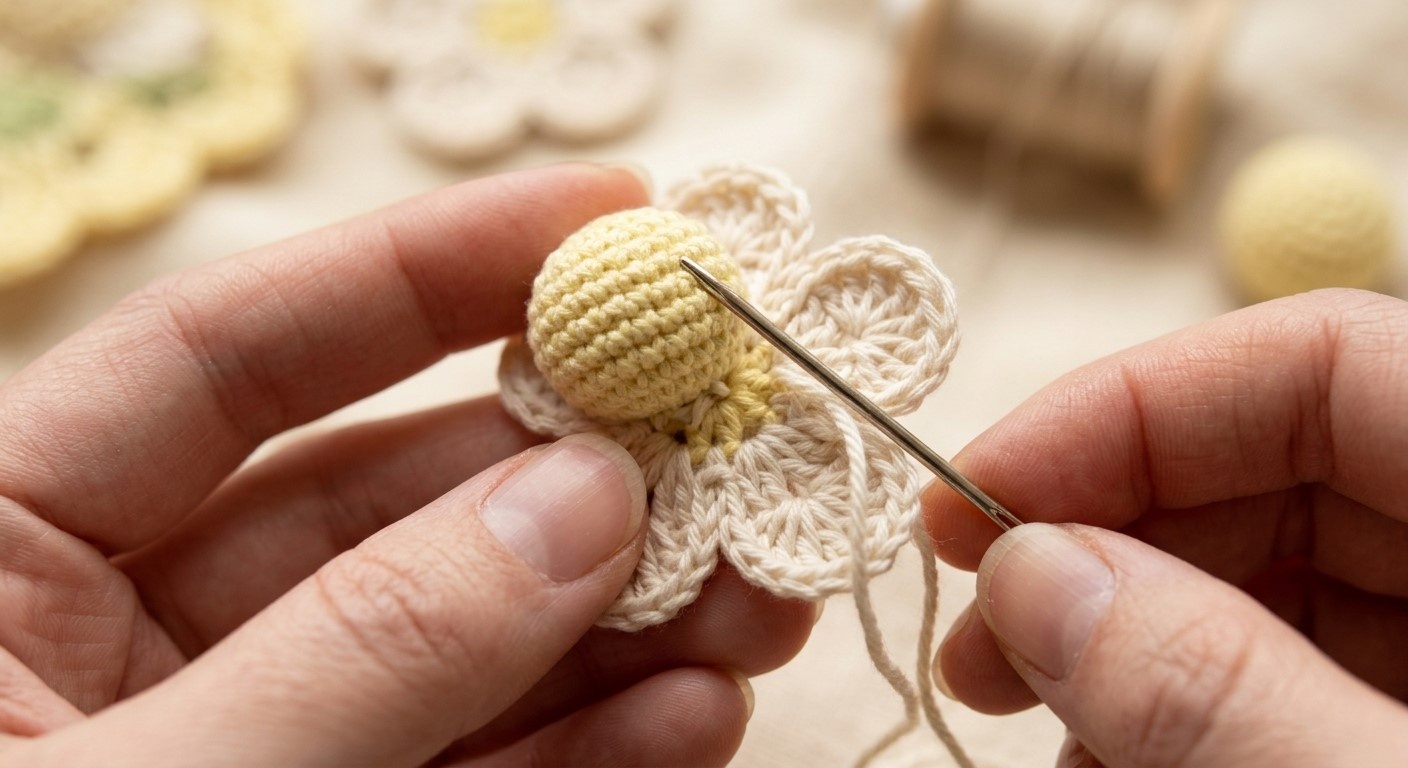
- Center the pod over the front of the petals so it sits in the middle of the flower, then use the petals' yarn tail to whip-stitch the outer edge of the petal round to the base of the pod, spacing your stitches evenly so the petals sit flat around the center.
- Slide the calyx up the stem from underneath and glue or stitch it to the back of the flower, points facing outward, to cover the join.
Pro tips for a fuller, more realistic bloom
- Keep your tension slightly loose on the petal round — a firm, tight tension makes petals curl inward instead of spreading naturally.
- Steam-block finished petals by holding them briefly over steam (not touching the iron) and gently shaping them by hand, then let them cool flat — this relaxes the stitches so petals hold an open, curved shape.
- Vary your flower sizes if making a bouquet — go up a hook size for two or three "hero" blooms and down a size for the rest, the way a real bouquet has flowers at different stages.
- Use a lightly textured cotton rather than a very shiny mercerized one if you want the matte, slightly fuzzy look of real cotton bolls.
Watch it worked
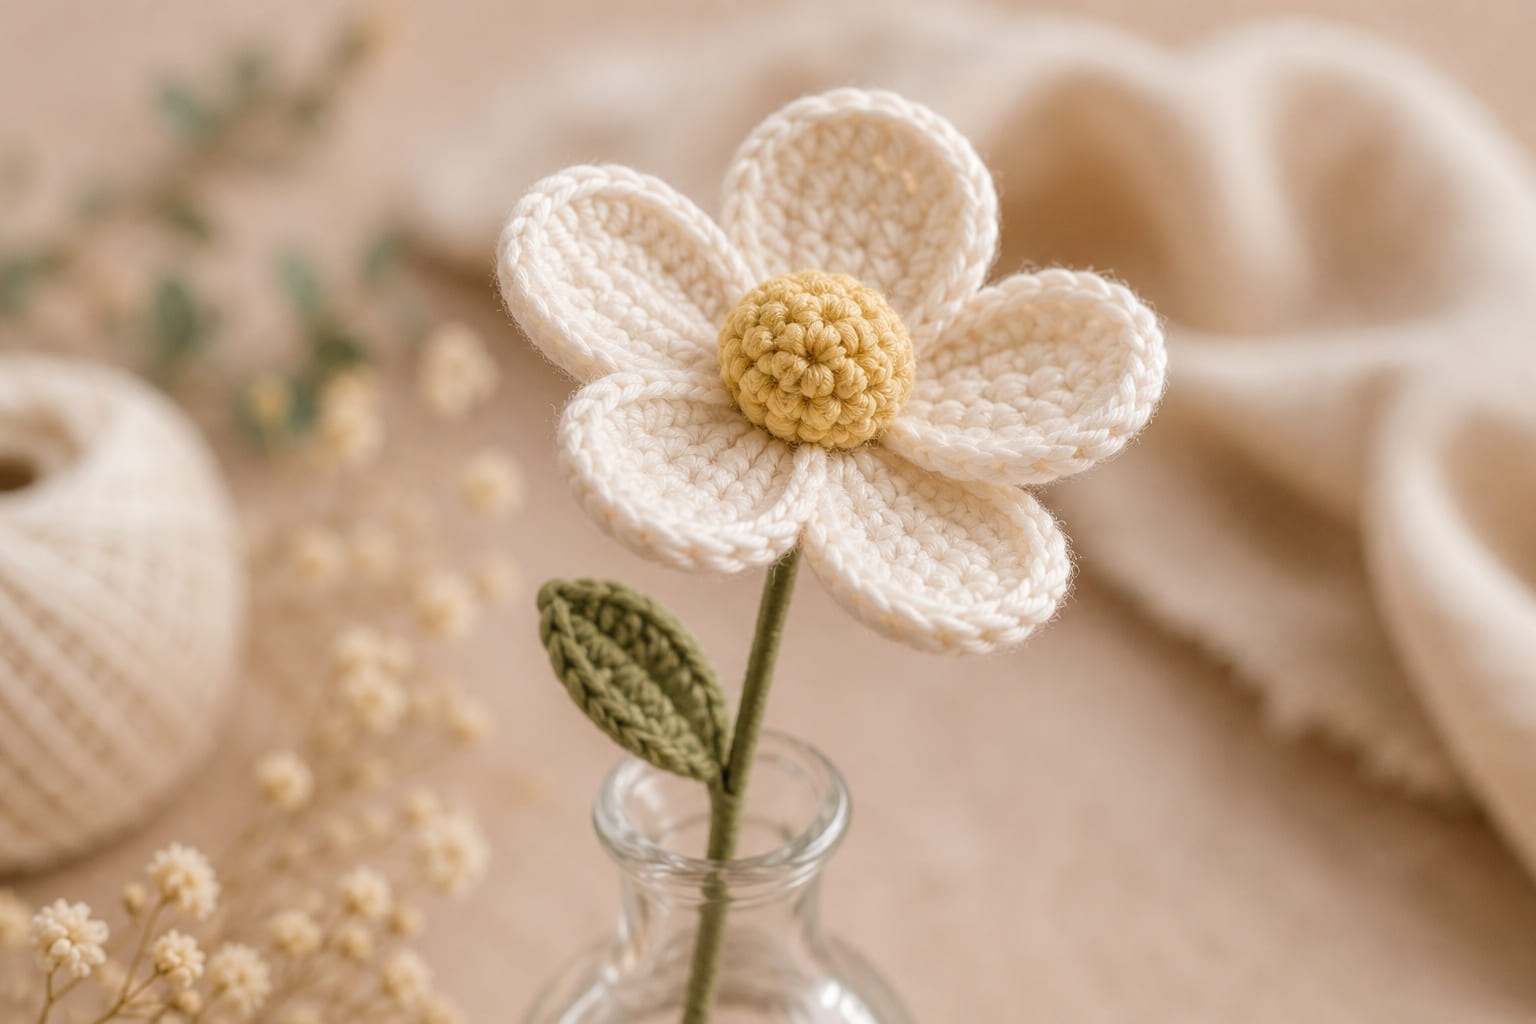
If you'd like to see the fuller, layered-petal technique in motion before you start — particularly how the petals, center and stem come together — this video walks through building a multi-part cotton-style bloom step by step, which pairs well with the assembly instructions above.
Common mistakes and how to fix them
My petals are curling inward instead of lying open. This is almost always tension — try going up half a hook size, or steam-block the finished piece and shape the petals flat while they cool.
The magic ring keeps loosening after I pull the tail. Give the tail one extra firm tug immediately after your last stitch of Round 1, before you move on — once a second round is worked on top, the ring is much harder to tighten.
My flower looks lopsided. Check that all 5 stitches from Round 1 are used exactly once in Round 2 — it's easy to accidentally work two petals into the same stitch and skip the next one, which throws the spacing off.
The stem wobbles or the flower head droops. Wrap a few extra rounds of yarn or tape at the point where the stem meets the pod — this thickens and stiffens the weakest point in the join.
What to do with your finished flowers
A single stemless flower works well as a brooch, hair clip, or appliqué stitched onto a hat, headband, or the corner of a granny square. A small cluster of 3–5 stemless flowers sewn together makes a simple corsage or bag charm. Stemmed flowers can be gathered into a small everlasting bouquet, wrapped individually around a wreath form, or displayed single-stem in a bud vase — cotton yarn flowers hold their shape well and don't wilt, so they work as long-term table or shelf decor.
Frequently asked questions
What yarn is best for a crochet cotton flower?
A smooth worsted weight (US #4) 100% cotton yarn holds its shape best and gives the crisp, matte finish of real cotton petals. Mercerized cotton looks slightly shinier; a plain dishcloth-style cotton looks softer and more matte.
Can I make this pattern without wire?
Yes — the base flower and center pod need no wire at all, and finish nicely as a flat appliqué, hair clip, or brooch. Wire is only needed for a freestanding stem for a vase or bouquet.
How long does it take to crochet a cotton flower?
The easy one-piece version takes most beginners 15–25 minutes. The fuller three-part version with a center pod, calyx, and stem takes about 45 minutes to an hour, including assembly.
What hook size should I use for a cotton yarn flower?
A 4.0mm–4.5mm (G/6–7) hook suits worsted weight cotton for this pattern. Going up half a size makes petals sit looser and more relaxed; going down makes them firmer and more structured.
Can true beginners really make this pattern?
Yes — the base version uses only a magic ring, chain, single crochet, double crochet, treble crochet, and slip stitch, worked in one piece. The center pod, calyx, and wired stem are optional add-ons for once the base flower feels comfortable.
How do I stiffen a crochet flower so it holds its shape?
A light spray of fabric stiffener or a thinned PVA glue-and-water mix (about one part glue to one part water), brushed on and left to dry flat or over a curved form, will firm up petals nicely. For most cotton yarn flowers, steam-blocking alone is usually enough.