
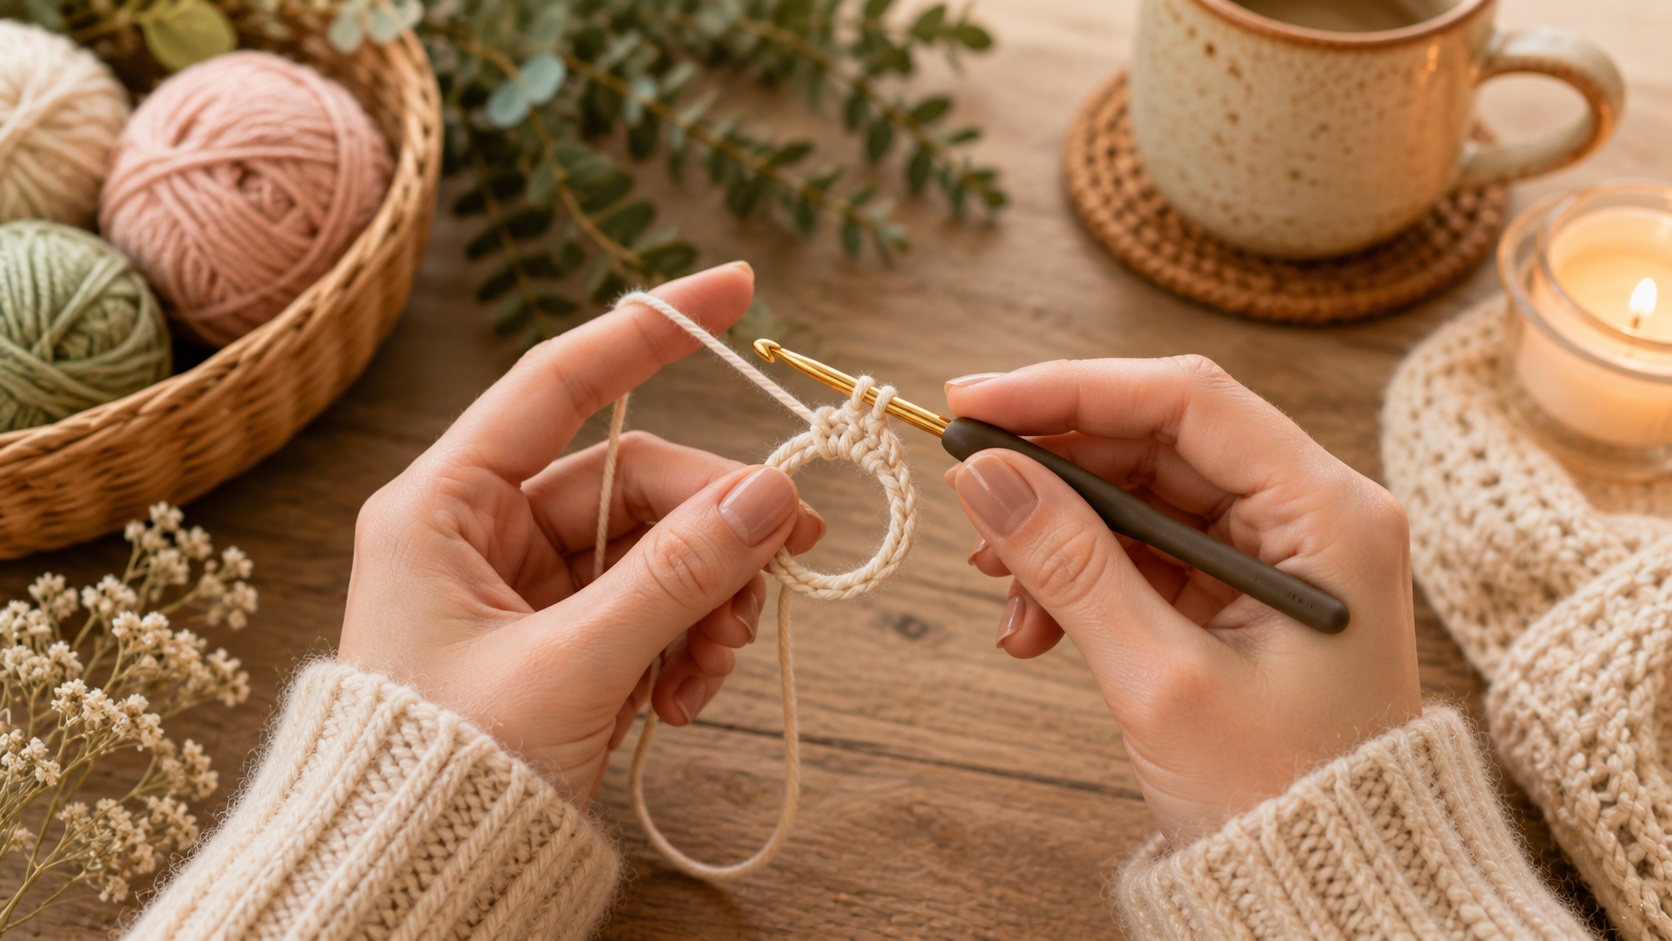
A magic ring (also called a magic circle or adjustable ring) is how almost every crochet project worked in rounds gets started — amigurumi heads, granny squares, flowers, hats. It replaces the old "chain 2, work into the 2nd chain from the hook" method with a loop that can be pulled fully closed afterward, so you're not left with a small hole at the center of your work.
What you'll need
- Any yarn and a matching hook
- Just your hands for the first few steps — no special tools
Step by step
- Cross the yarn over itself. Drape the yarn over your fingers so the tail hangs down and the working yarn (attached to the ball) crosses over the top, forming a loop with an X at the bottom.
- Pinch the X. Hold the point where the strands cross between your thumb and middle finger so the loop stays open.
- Insert your hook under the loop, from front to back, through the center of the ring.
- Yarn over and pull up a loop. Catch the working yarn and draw it through the ring — you'll now have one loop on your hook, and the ring is still open.
- Chain 1 (this secures the ring but doesn't count as a stitch of your first round).
- Work your first round of stitches directly into the ring, over both strands, the number your pattern calls for.
- Pull the tail to close. Once your stitches are in place, gently pull the short tail — this cinches the ring shut, pulling all your stitches into a tight little circle.
- Join with a slip stitch to the first stitch of the round, if your pattern works in joined rounds.
Why use a magic ring instead of chain-2?
A chain-2 starting ring is worked by chaining 2, then working stitches into the 2nd chain from the hook. It's simpler to learn, but it leaves a small, fixed hole at the center that can't be tightened — which shows on amigurumi heads and flower centers alike. A magic ring's whole advantage is that the ring size adjusts to however tightly you pull it, so the center closes almost completely.
Common problems and fixes
The hole won't close all the way. This usually means the working yarn end (not the tail) got pulled instead. Tug the short tail specifically, not the strand still attached to your ball of yarn.
The ring loosens again after a round or two. Weave the tail through a couple of the base stitches before trimming, rather than just leaving it loose — this locks the cinch in place permanently.
I can't tell which strand is which after pulling up a loop. Before you start stitching, drape the tail so it hangs clearly to one side — glancing at it mid-round is much easier than trying to trace the loop back.
My stitch count looks right but the ring still gapes slightly. A small gap of a millimeter or two is normal and gets hidden once you add a second round — it's only a problem if you can see through to the back of the work.
Frequently asked questions
Can I use a magic ring with any yarn weight?
Yes, though very slippery or very thick yarns can be trickier to cinch tightly. If you're struggling, chain 2 and work into the 2nd chain from the hook as a reliable fallback — the hole will be very slightly larger but the technique is more forgiving for slippery fibers.
Do I always chain 1 before the first stitch?
Only if your first round starts with single crochet or half double crochet — that chain-1 sits at the base and isn't counted as a stitch. If your pattern's first round is double crochet, you'd typically chain 2 or 3 instead, following the standard turning-chain height for that stitch.