
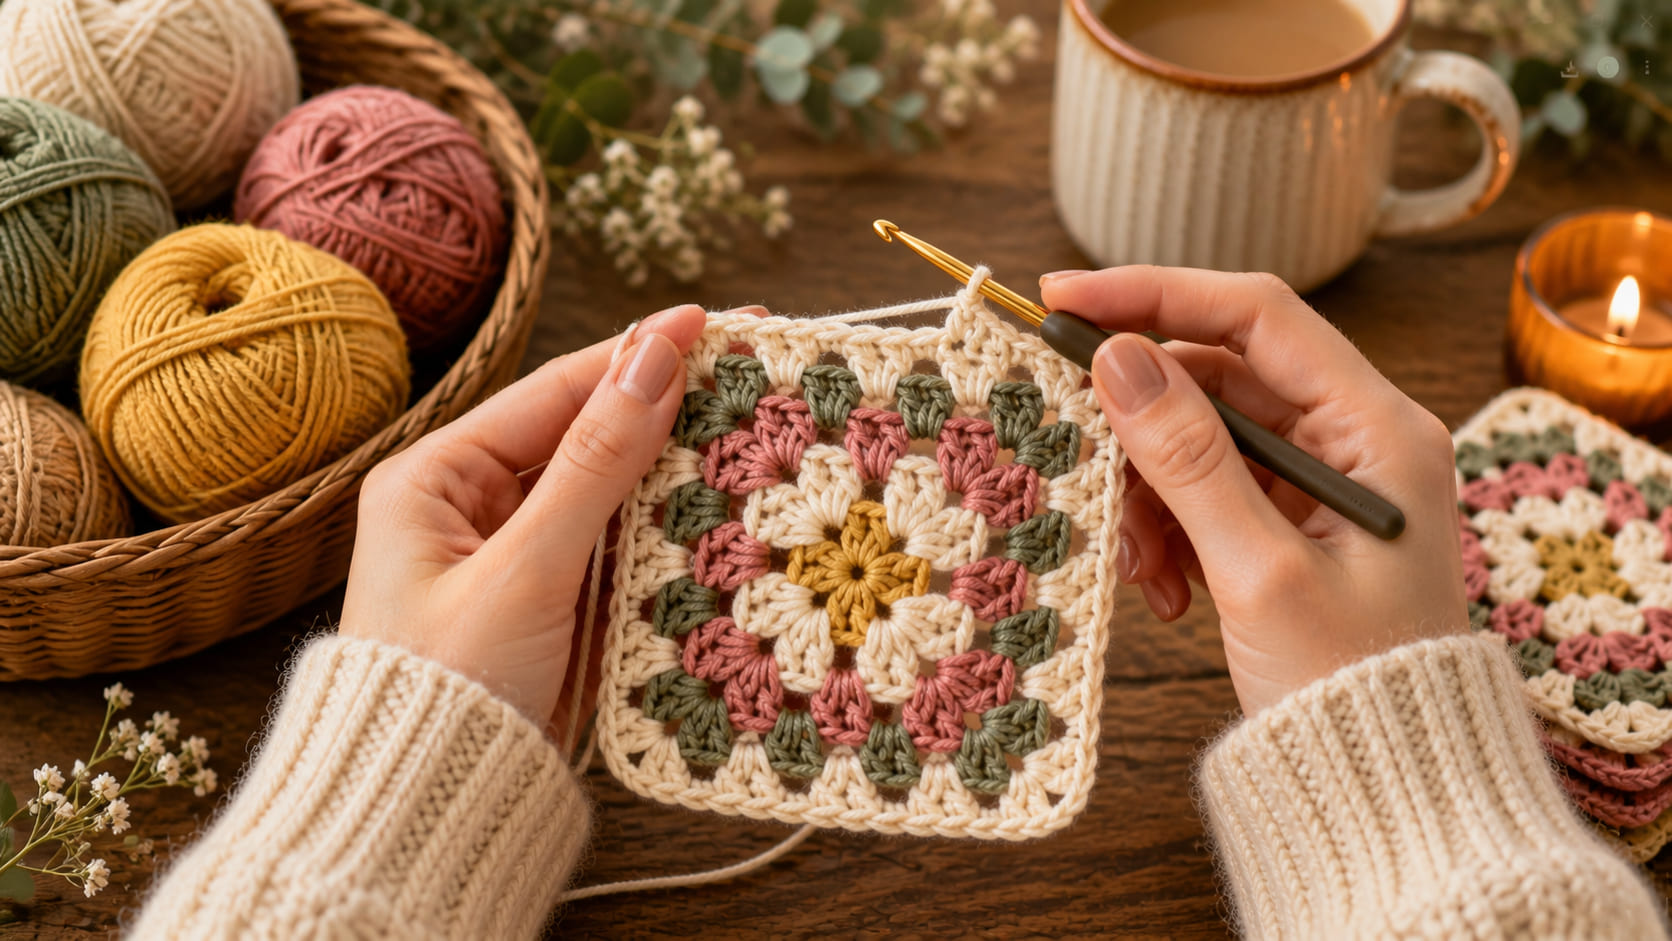
Every crocheter learns the granny square first for a simple reason: two stitches, one repeating rhythm, and a finished motif in about ten minutes. This guide walks through a full square from the starting ring to the last round, explains why squares sometimes cup or curl, shows you how to join them invisibly, and finishes with a quick flower-centre variation if you want something a little different from the classic look.
What You'll Need
- Worsted weight (medium, US #4) cotton or acrylic yarn in 3–4 colors
- 5.0mm (H/8) crochet hook, or the size on your yarn label
- Scissors and a yarn needle for weaving in ends
- A stitch marker, or a short scrap of contrasting yarn
Stitches and Abbreviations Used
| Abbreviation | Stitch |
|---|---|
| ch | chain |
| sl st | slip stitch |
| dc | double crochet |
| sp | space |
| sc | single crochet |
Granny Square Pattern, Round by Round
Round 1: Starting the Ring
Chain 4 and join with a slip stitch into the first chain to form a ring. Chain 3 — this counts as your first double crochet. Work 2 dc into the ring, chain 2, then work three more groups of 3 dc separated by a chain-2 space, so you finish with four groups of 3 dc and four chain-2 corners. Join with a slip stitch to the top of your starting chain-3. Fasten off if you're changing color for Round 2.
Round 2: Building the First Shell Corners
Join your next color into any chain-2 corner space. Chain 3, then work (2 dc, ch 2, 3 dc) into that same space — this is your first full corner shell. Chain 1, work a group of 3 dc into the next corner space, and repeat the shell in the remaining three corners. Join with a slip stitch to the top of the starting chain-3.
Round 3 and Beyond: Growing the Square
Every additional round follows the same two moves: a full corner shell (3 dc, ch 2, 3 dc) in each of the four corner spaces, and a single group of 3 dc in every chain-1 space along the sides. The square grows by one shell per side, per round. Most projects use 4–6 rounds before fastening off — more rounds for a coaster or square-motif blanket, fewer for smaller appliqués.
Quick answer: A granny square works up in three repeating steps — start with a ring of 3-dc groups, add chain-2 corners, then repeat corner shells and side groups until it's the size you want.
Fixing a Curling or Cupping Granny Square
If your square domes instead of lying flat, it's almost always one of two things:
- Uneven stitch counts. Count the shells on each of the four sides before starting a new round — they should match exactly. One extra dc group on a single side is enough to pull the whole square out of shape.
- Tension that's too tight. If your corners feel stiff or hard to work into, try going up half a hook size. A looser corner chain-2 space is what keeps the square flat as it grows.
A quick fix for a square that's already cupping slightly: wet-block it. Dampen the finished square, pin it flat and square on a towel or blocking mat, and let it dry completely before joining it to anything else.
Joining Squares Invisibly
Lay two finished squares right sides together. Using a yarn needle and a length of matching yarn, whip stitch through the back loops only of both squares along the edge, working corner to corner. Worked this way, the seam sits flat on the front and barely shows — much neater than joining with a visible crochet slip-stitch seam.
Solid Granny vs. Traditional Granny: Which Should You Make?
| Style | Best for | Difference from the basic pattern |
|---|---|---|
| Traditional (multi-color) | Blankets, bags, classic look | Change color at the end of every round |
| Solid granny | Cushion covers, cleaner modern look | Same pattern, one color throughout — no structural change |
| Mandala granny | Wall hangings, coasters | Extra decorative rounds worked in a circle before squaring off |
Bonus: A Simple Flower-Centre Variation
If you'd like a softer, more floral look than the standard 3-dc corner shells, you can swap the centre ring for a small five-petal flower before working the outer granny rounds. This is a lovely way to bring the delicate, botanical feel of flower crochet — the kind you'll see throughout dedicated flower-motif collections — into a functional square.
- Make a magic ring. Work (1 sc, 3 ch, 3 dc, 3 ch) into the ring, five times, to create five petals. Pull the ring closed and join with a slip stitch.
- Fasten off, then join your granny square yarn into any petal-tip chain space and begin Round 2 of the granny pattern above exactly as written — treating each petal tip as a corner.
The rest of the square builds up around the flower exactly as usual. It's a small change with a noticeably different finished look — ideal for baby blankets or spring-themed projects.
Common Beginner Questions
Can I use one color the whole way through? Yes — color changes are a style choice, not a structural requirement. A single-color "solid granny" works up exactly the same way.
What size yarn and hook should I start with? Worsted weight (US #4) yarn with a 5.0mm hook is the easiest combination to learn on — the stitches are large enough to see clearly and the fabric isn't too stiff or too loose.
How many squares do I need for a blanket? A lap blanket typically needs 48–64 squares at 4-inch (10cm) finished size, arranged 6–8 squares across and 8 squares down — adjust based on your square size and desired blanket dimensions.